Company - Contacts
Note:
The tutorial refers to Building Contacts, but the process is the same for contacts for any type of company.
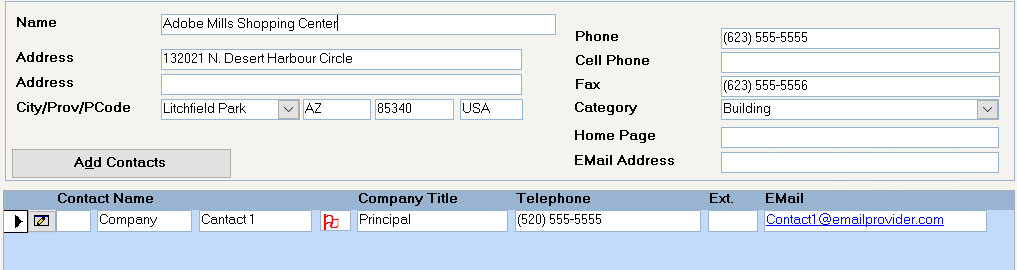
For any company, whether that company is a tenant, supplier, prospect, etc., you may add any number of contacts. When you drill down on the company, select Contacts and then click on the Add button to open the Contact information screen.
Phone Screen
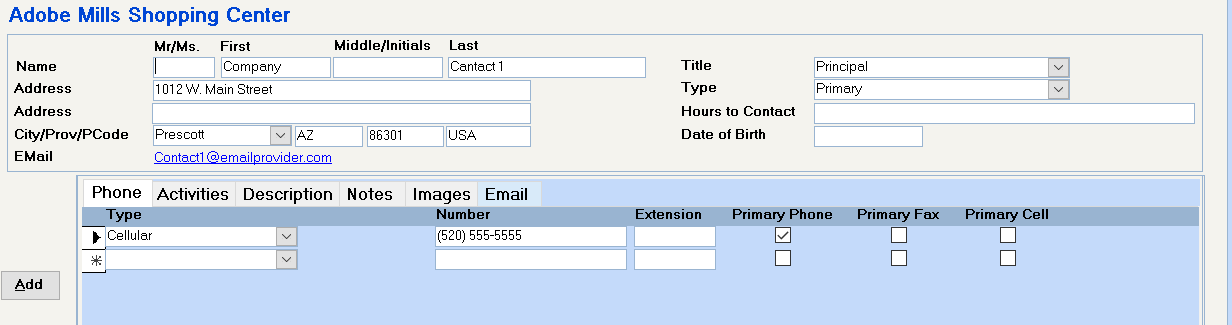
Enter the name and address of the contact, if it is different from the company address.
Title
Select one of the existing titles or type in a new title. When you press 'Enter' or tab out of the field, you will be prompted to save any new title.
Contact Type
If you select Primary, a Red flag will display beside the Contact name on the first screen. If you select Executive, a Green flag will display. This is done to assist you in selecting the appropriate contact in a long list of contact names.
These contact types are available in the Database Listing program to enable you to select the appropriate contact for any database listings or mail merges.
Hours to Contact
This information is available for onscreen inquiry only.
Date of Birth
This optional field is available as a mail merge field in the Database Listing if you select Output Options "Format" and indicate that you want Company & Contact Name on the output.
"Other" Lease Name
Select this option if this contact is also on the lease. Contacts flagged as "Other Lease Names" may be included on Security Deposit Refund checks and will show with a Blue flag on the first screen.
Emergency Contact
This option indicates whether this person should be contacted in the event of an emergency and works in conjunction with the phone numbers listed below. A report of contacts who are Emergency Contacts may be printed from the Tenant Emergency Contact List (Navigation Pane – Tenant – Select a Report – Tenants).
You cannot enter the email address directly into their field. As each contact may have multiple email addresses, select the Email button and enter the various email addresses on that screen. The one that you "Set as Default" is the one that will display in this field. To send an email to this contact, please see below.
Type / Number / Extension / Primary Fax / Emergency
Each contact may have many different telephone and fax numbers entered. Specify which of the numbers are to be used as the primary phone, primary fax, or Emergency telephone numbers.
The telephone number designated as the Primary Phone will display on the first screen. The number designed as the Emergency telephone number will print on the Tenant Emergency Contact List (Navigation Pane – Tenant – Select a Report – Tenants)
Activities
Use Activities to record letters, phone calls, meetings and more.
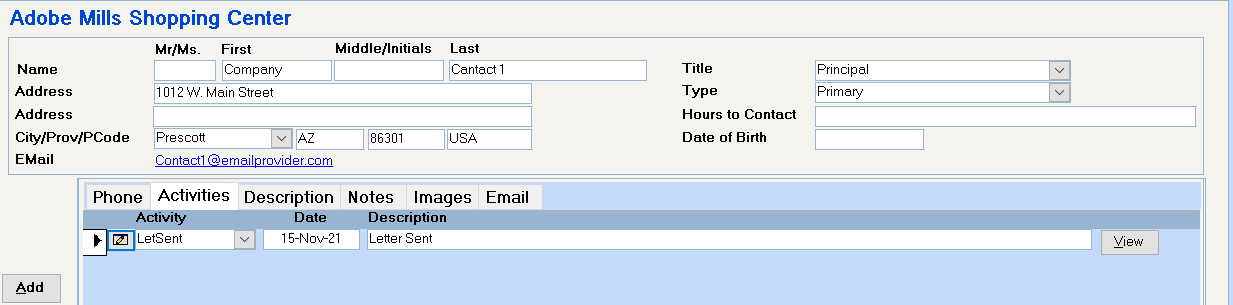
Add an Activity
Click "Add"
Date
The date defaults to today’s date, but you may overwrite this with any date, including one in the future, if you want to schedule a future activity.
Code
Use an existing code or type in a new code up to 10 characters long. When you press
Description
When you tab into the field, the system will automatically fill in the description from the Activity code. You can add to this description or overwrite it completely up to 50 characters.
Status
Use an existing code or type in a new status. When you press
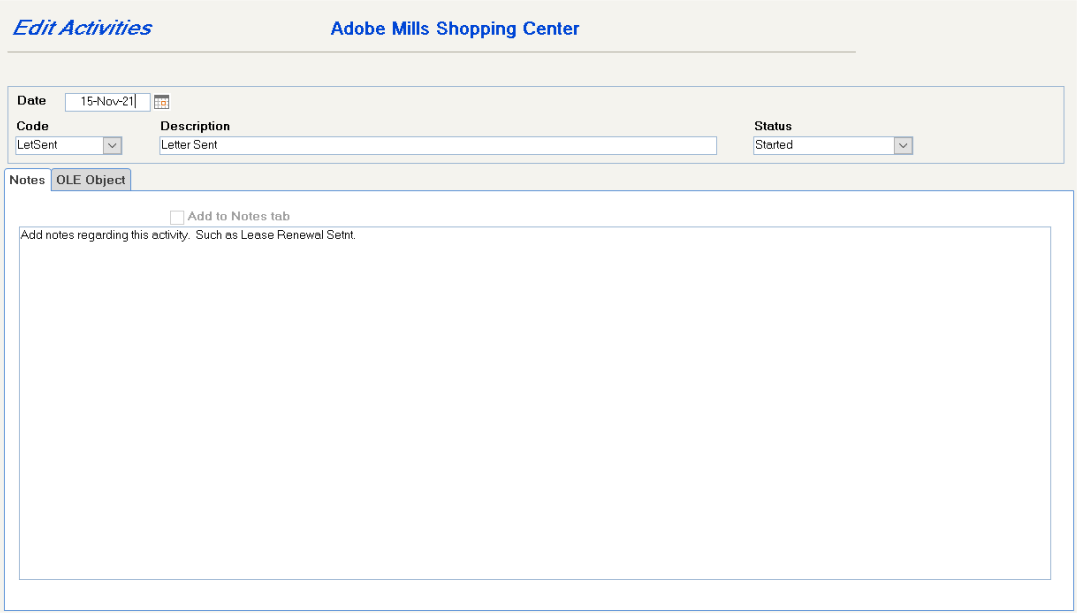
Notes
Notes entered here will print on the Company Profile and Tenant Abstract report if the Notes option is selected. Select the "Add to Notes tab" option if you wish these notes also to appear on the Notes screen.
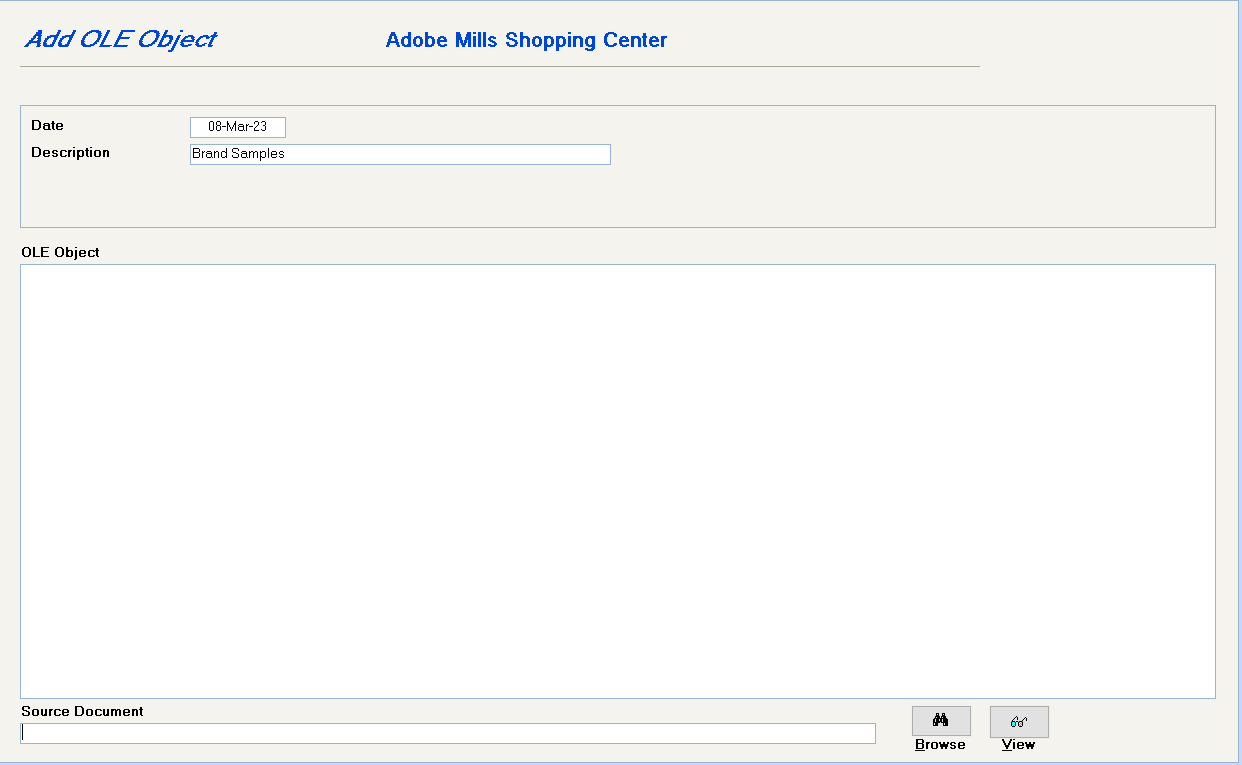
OLE Object
This feature may be used to attach a document written for this activity, however using OLE Objects takes up a lot of space in your database files and it is better to save the document or image in a shared location on your network and use the browse option to link to the document.
- Activities entered on the Contact’s Activities screen will automatically have the Contact name added to the Activities that display at the Company level. Only Activities entered at the Company level with this Contact name will display on this Contact’s Activities screen.
- You may search companies by Activity codes for a specific date range in the Open Database.
- You may select companies in the Database Listing program by Activity codes, by date range, by status
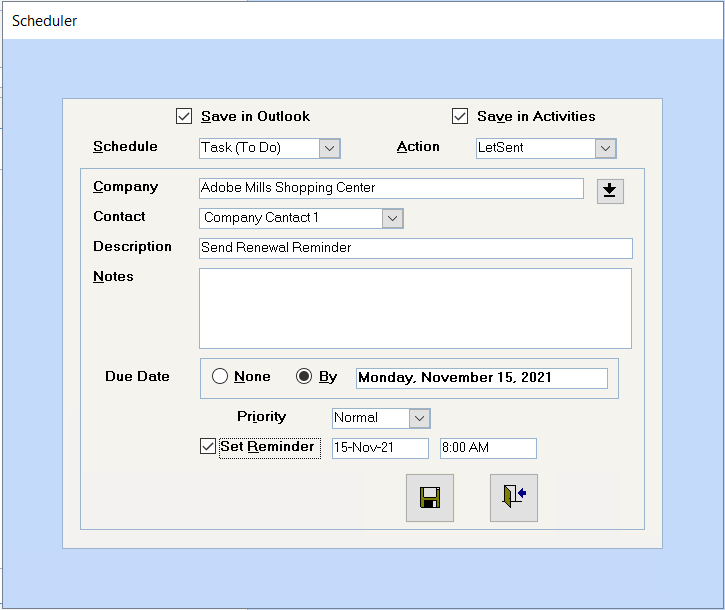
- Task Scheduler – You may also set up Activities from the Task Scheduler button on your toolbar. This program will give you the option to schedule future events in Outlook and as Activities.
Description
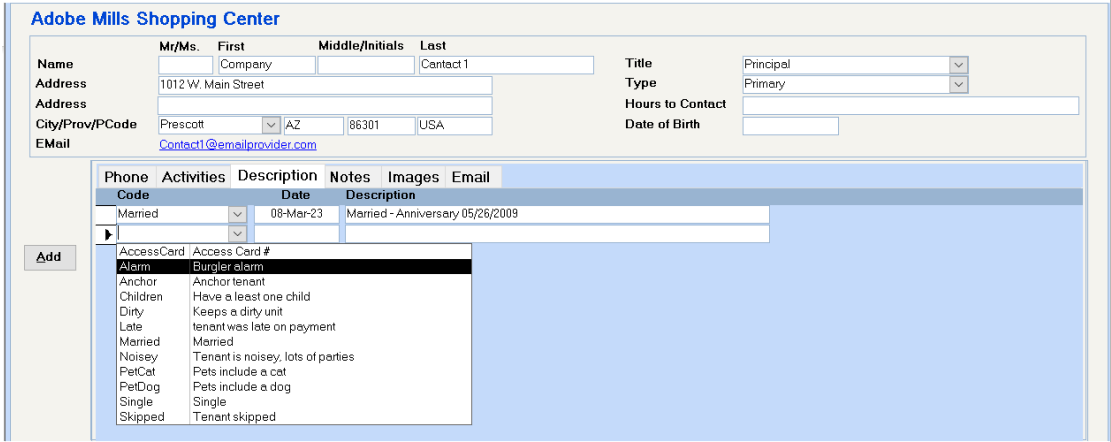
Description codes are different from Activity codes in that they will most likely not be date sensitive. They would be more informational in nature than Activity codes.
Code
Use an existing code or type in a new code up to 10 characters. When you press
Date
Defaults to today’s date, but you can overwrite this.
Description
When you tab into the field, the system will automatically fill in the description from the Description code. You can add to this description or overwrite it completely.
* Description codes entered on the Contact Description screen refer to the contact only and will not display at the Company level. Description codes entered on the Company Description screen will not display on the Contact Description screen.
* You may search by Description codes in the Open Database screen or select companies by Description codes in the Database Listing program.
Notes
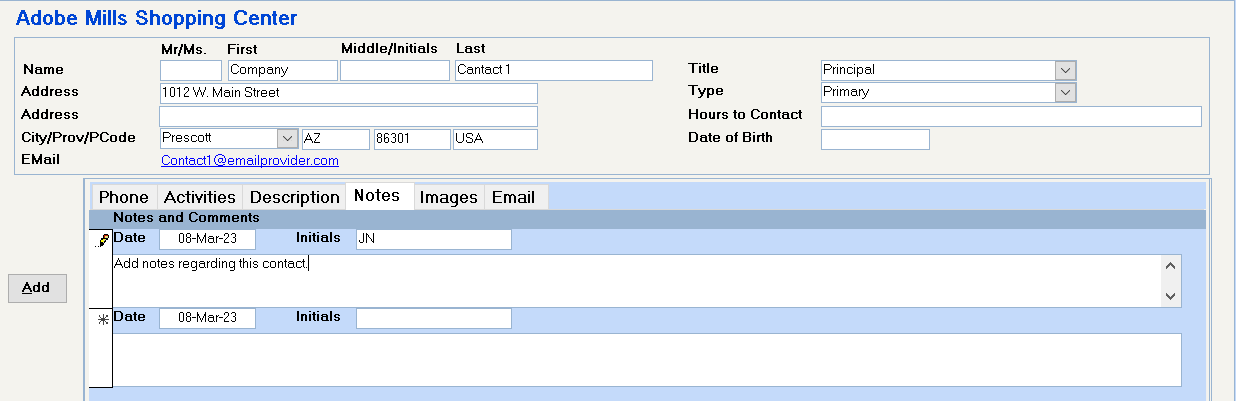
To Add a "Note", just start typing in the first blank field.
Date
Defaults to today’s date, but you can overwrite this date.
Initials
Generally used to record the initials of the person entering the note.
* Notes entered on the Contact Notes screen refer to the contact only and will not display at the Company level.
* Notes entered on the Company Notes screen will not display on the Contact Notes screen.
Images
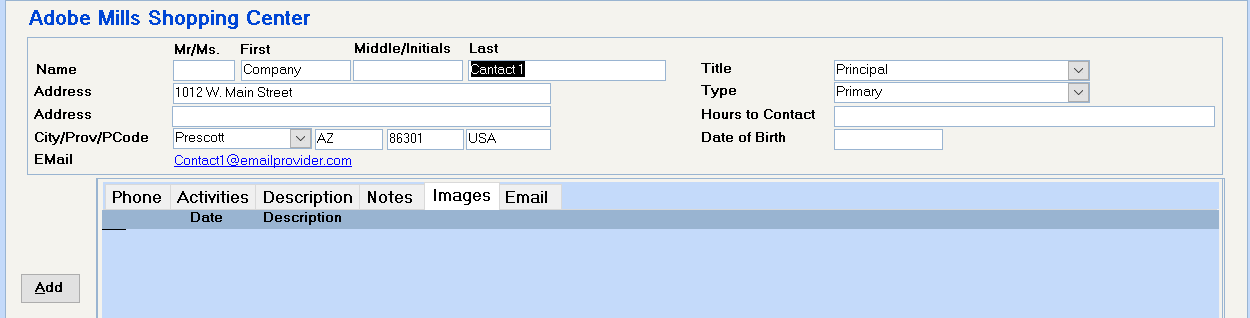
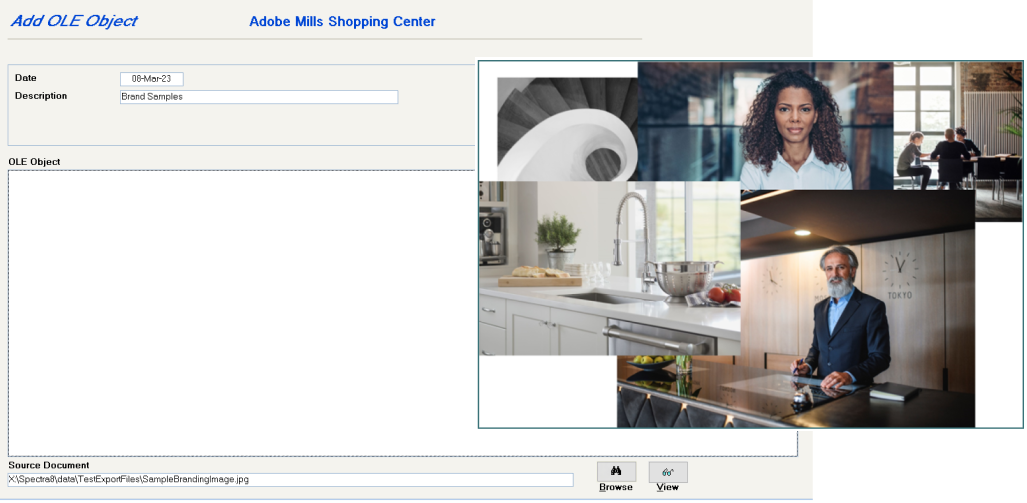
To add a contact image:
- Save the documents in a share file location.
- Click Browse and select the file and click Open
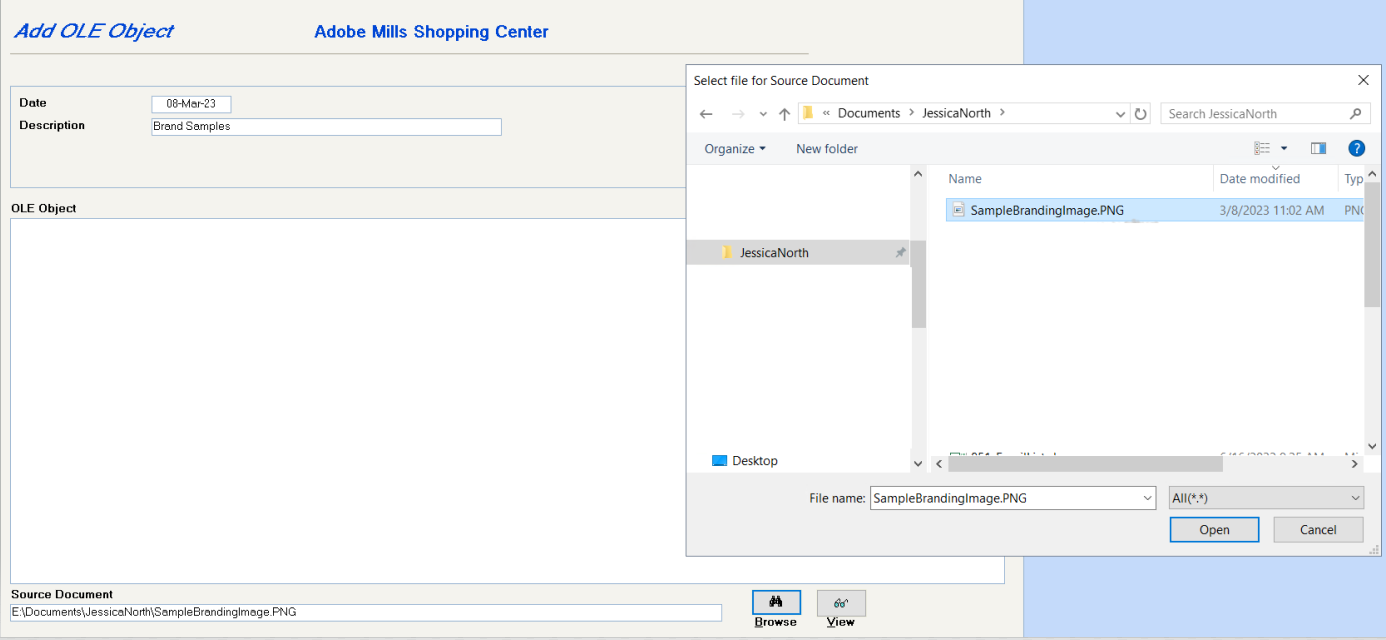
-When you next access the Contact Images screen, just click on the View button.
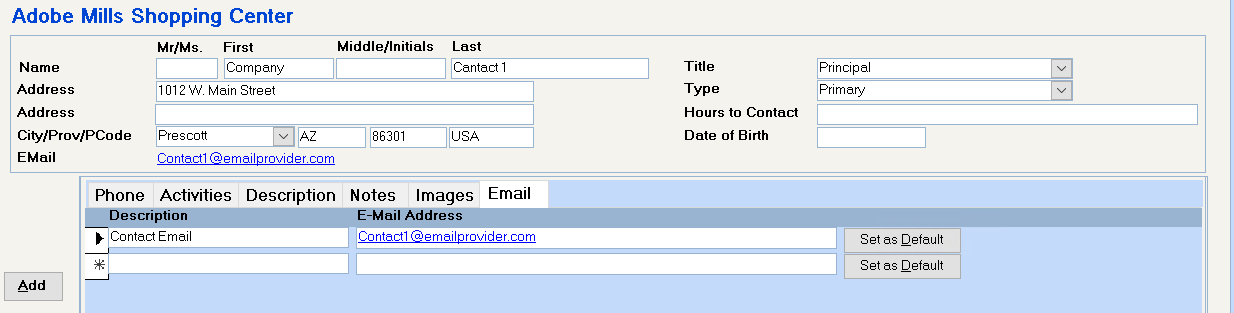
Enter as many email addresses as you have for the contact.
The Description may be used to specify indicate where these email addresses are, e.g. Home or Office or otherwise.
Click on the "Set as Default" button to add this email address to the top portion of the screen as the default email address.
Clicking on any of these email addresses will automatically open your Email and start a message to this contact.
Send an Email
To send an email from within SPECTRA to one of the companies in the database and have this email available for ready viewing as an activity:
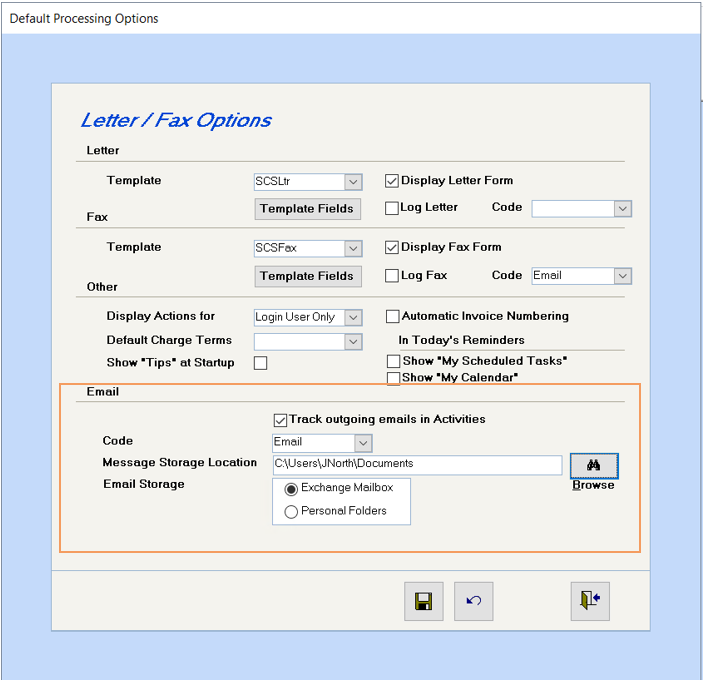
1. On the Toolbar, go to Tools – Set User Defaults and complete the new Email section. Add an "Email" code as an Activity code to indicate that these are emails. We would suggest that you set up a centralized directory where all users can save their emails and select this as your "Message Storage Location".
2. Click on Contacts to add an email address to a tenant. Add a new or drill down on an existing contact and click on the "Email" tab. As a company may have several different email addresses, when you have entered the email address, click on the "Set as Default" button to specify this email address as the default. It will then appear here.
3. To send an email to this contact’s default email address and have it saved and logged as an activity you must have the contact screen open so that you see the "Phone, Activities, Description, etc." tabs. If an email opens without the "To" field being completed, you haven’t opened the contact before using the "Send Email" option. If the contact screen is not open, the email will be sent to the email address shown on the Company Screen.
4. From within the Contact screen, click on the "Send" button on the toolbar, and select "Send Email"
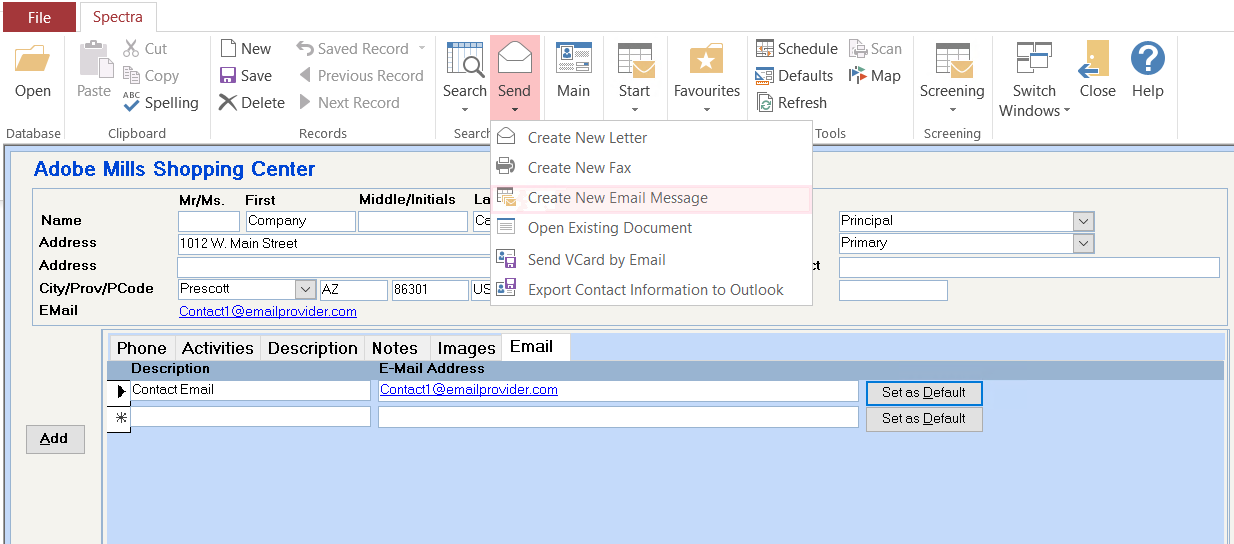
5. Outlook will open and an email started with the default email address entered in the "To" field.
6. Complete the email and click on the "Send" button. If you selected the option in the Set User Defaults screen to "Track outgoing emails in Activities", an Activity screen in SPECTRA will automatically open for you to complete.
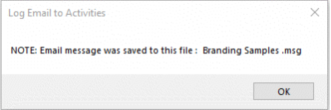
7. The message isn’t saved yet! Click on the "Browse" button at the bottom of the screen. You will receive an onscreen message indicating that the email message has been saved with whatever you used as the subject line of the email.
8.When you have clicked on the OK button of the above message, the "Source Document" field will be filled automatically.

* Important - This is a temporary file with room for only one email, so click on the Browse button to save this email before opening or sending any other email.
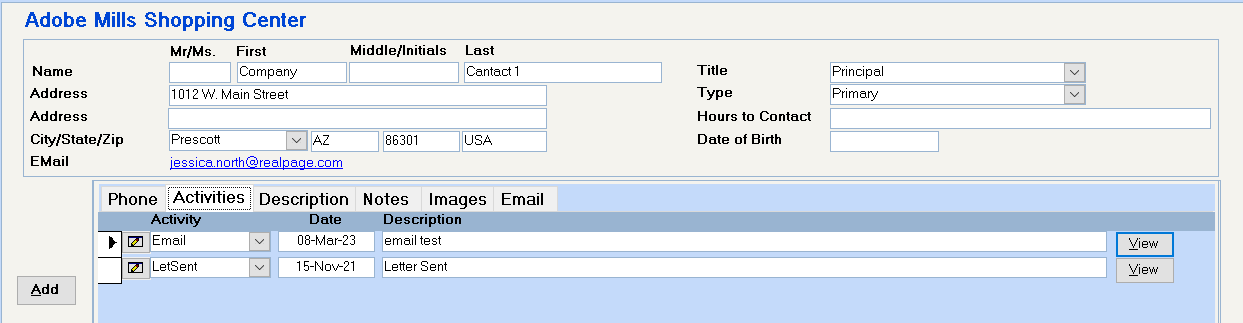
9. From the Activities screen, click on the View button on the right to view a copy of this email:
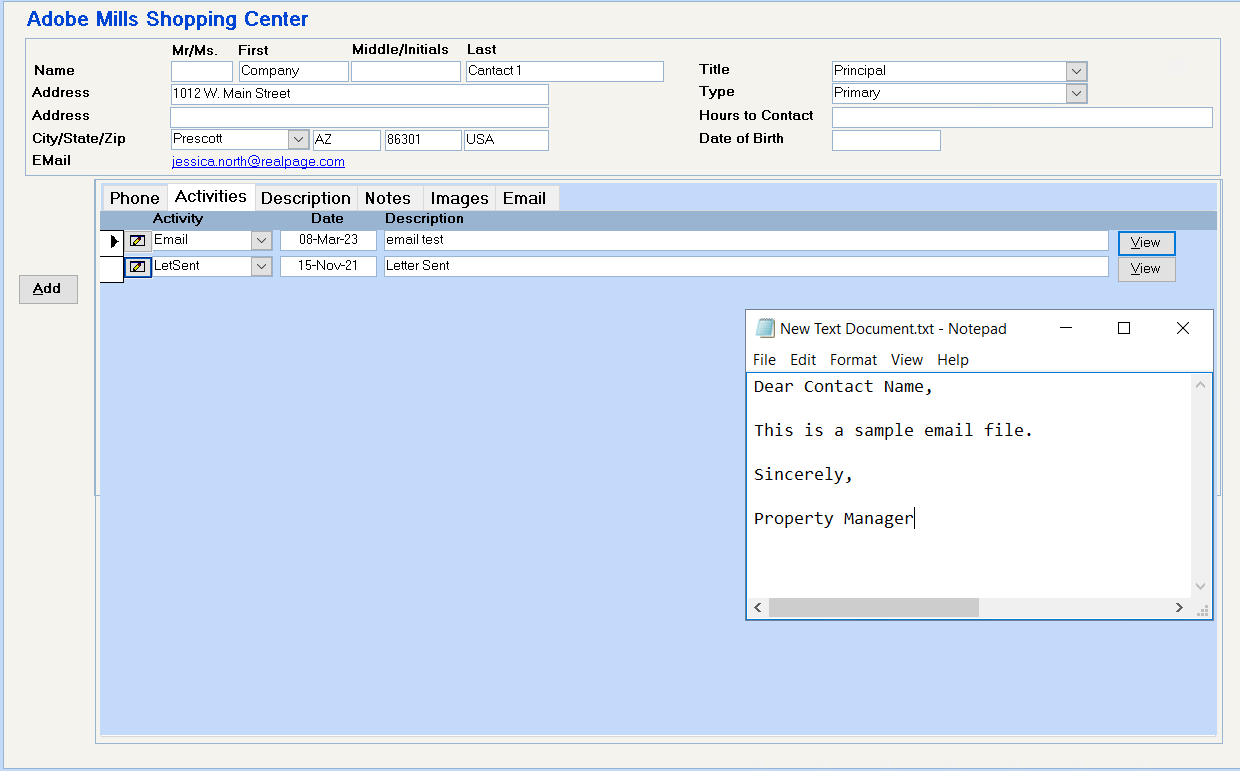
Send vCard
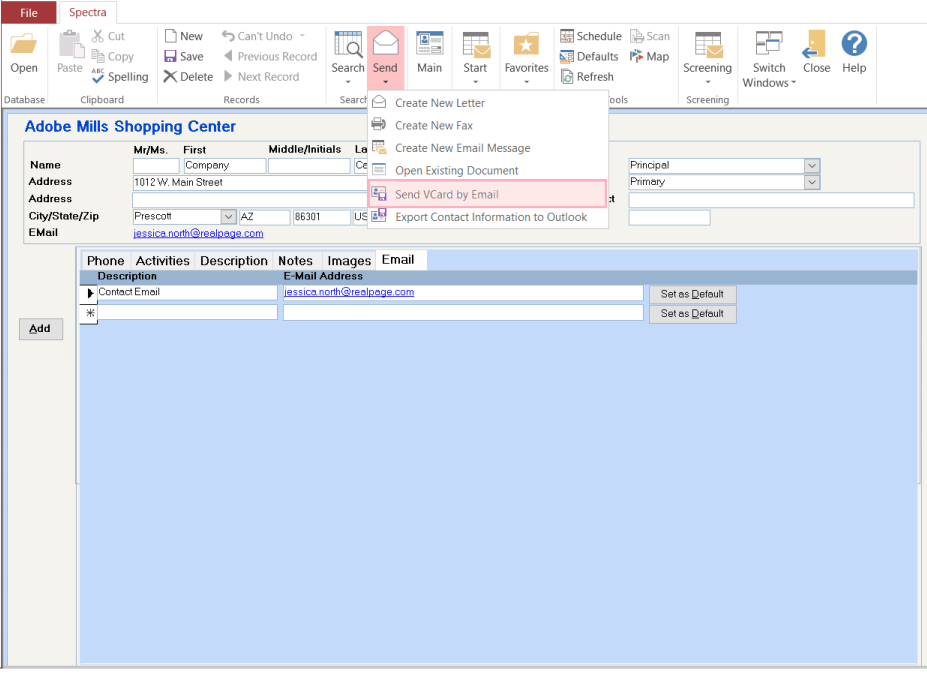
A vCard is an electronic business (or personal) card. You may have seen a vCard attached to an e-mail note someone has sent you. To use this feature in SPECTRA, open a tenant and select a contact. Then click on Send – Send vCard on the toolbar. The system will open an email and attach a vCard with the contact’s information.