
Deposit Refunds
This menu item is used to refund Tenant Deposits, Interest Only Refunds and to Refund A/R Credits.
1. Do not use the security deposit refund program to view a tenant’s security deposit account. This will generate a calculation of interest to today’s date. To view a tenant’s deposit and accumulated interest to today’s date, use the Security Deposit Report – found on the Reports Menu - under Building.
2. Apply any Pending Batches and Apply Unapplied Credits before starting a security deposit refund. These processes affect the tenants’ balances.
The Deposit Refund requires a multi-step process:
1. If necessary, charge tenant for any cleaning and damages to be deducted from the security deposit refund.
2. Check if there are any Pending Batches related to Tenant Receivables and either post or delete these batches.
3. Run Apply Unapplied Credits.
4. Tenant – Tenant Deposits – Deposit Refunds – refund the deposits, credit balances, or interest payments.
5. Supplier – Invoices – Post Invoice Expenses to G/L (accrual accounting only)
6. Banking – Checks – Select Invoices to Pay to select tenants to pay
7. Banking – Checks – Check Printing to print checks to tenants.
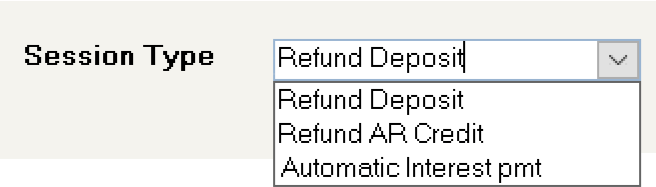
Session Type: Refund Deposit
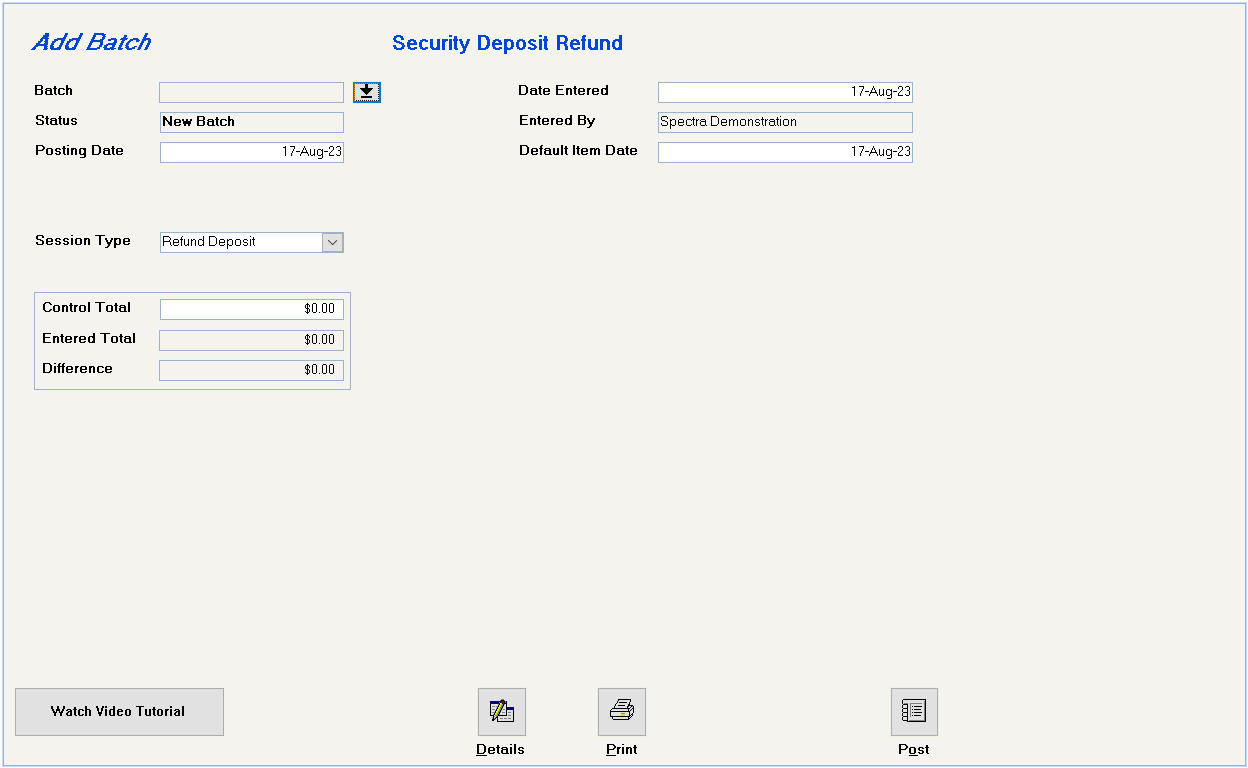
This date determines the date that the transactions will be posted to the G/L.
Interest will be calculated up to and including this date. It will default to today’s date, but you should change it to whatever date you want interested calculated.
You may enter the total of your Security Deposit Refunds. If you enter an amount, the system will not enforce it. It will simply record any variances. The Entered Total will be the amount of the checks to be written and will not include any amounts applied to the Tenant Receivables. E.g. If the total security deposits refunded equal $1,000.00 and $200.00 has been applied to a tenant’s receivable, checks in the amount $800.00 will be issued. The Entered Total will equal $800.00.
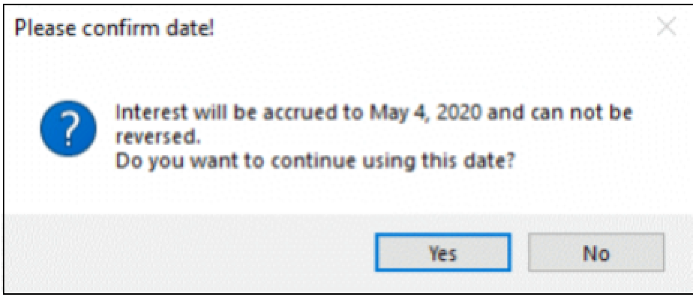
Click on this button to enter your first security deposit refund. When you click on the Details button, this prompt will appear which will enable you to escape from this step prior to any interest being accumulated on any tenants. Click Yes to continue or click No to change the date and then proceed.
Add Deposit Refund Screen:
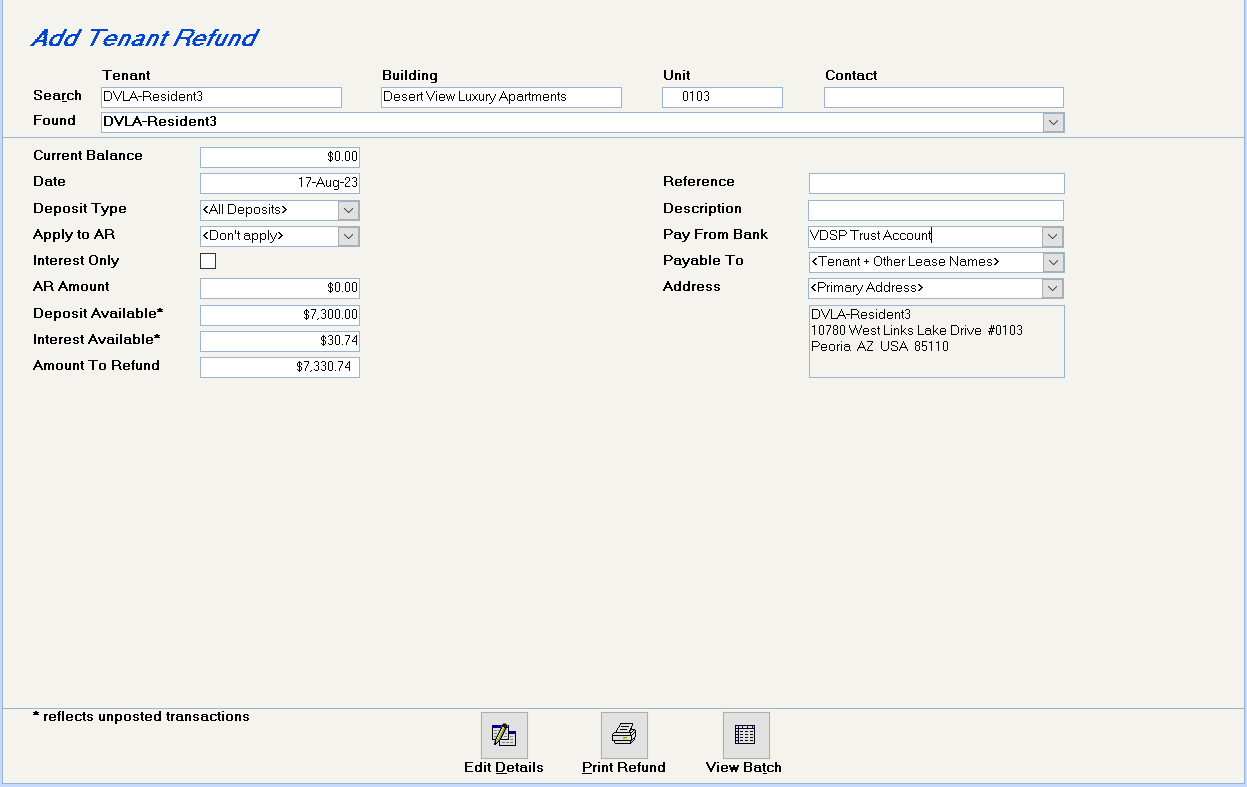
Enter the Tenant name, Building, Unit, or Contact name to locate the tenant to whom the security deposit refund is payable.
The system will display the tenant’s current A/R balance. You should ensure that you have no Pending Batches before starting a security deposit refund. This will affect the tenant’s balances.
Enter the date to which interest is to be calculated. This date must be equal to or later than the Default Item Date entered on the first screen.
The default is
If the tenant has an outstanding receivable amount, you may specify here that any refund should be applied to the receivables first.
If you missed the step of charging last minute charges, such as Cleaning & Damages, you should click on the X on the Toolbar to cancel this entry. (This will not cancel any interest that has been accrued on this tenant’s deposit.) Then, charge the tenant for the missing charges and return to this Deposit Refund program and continue.
You have 4 options: Don’t apply (default), As needed, Whole amount, or Whole amount (do not apply).
Refunds the security deposit without applying anything to the tenant A/R
To apply on the amount required to equal the tenant’s A/R balance.
Automatically apply all the deposit to the tenant’s A/R account based on the payoff priority code assigned to each outstanding tenant charge, even if this puts the tenant’s account into a credit position.
Applies the deposit to the receivables, but leaves the credit unapplied, so that you can apply the deposit to the desired outstanding charges.
Click this field if you want to refund Interest Only.
The system will fill in these fields, depending on your answers to the above questions.
If you accept the amount that the system has calculated in the Amount to Refund field, this is the amount that will be set up as payable to the tenant. Your options are:
Change this to a lesser amount to issue a partial refund. The interest will be paid out first and any remaining amount will be deducted from the original security deposit.
Change this amount to zero, if you just want to apply part of the security deposit to the receivables and not refund the balance to the tenant.
Enter your own alphanumeric reference number, which will then print on the tenant ledger.
Enter your own description, which will then print on the tenant ledger and the check stub.
If there is an amount in the Amount to Refund field, you must select the bank from which this check will be paid.
Enter your own description, which will then print on the tenant ledger and the check stub.
If there is an amount in the Amount to Refund field, you must select the bank from which this check will be paid.
The system will default to
The system will default to the tenant’s primary address. If you have other addresses set up on the tenant’s file, e.g. Tenant Forwarding Address, you can select this address as the mailing address of the refund check. Double click to setup a new address.
If you have clicked the View Batch button, Edit Details will allow you to revise the details of one of your entries.
You can print a Refund Report to the tenant from this button, or from the Print Batch button on the first screen. This report will show how the accumulated interest has been calculated plus show the details of any application to an outstanding receivable balance. This receipt is designed to accompany your refund check to the tenant. Reminder: You must print the Refund report before you post the batch.
This button will show you a summary listing of all the entries in this batch.
Save the record and then click on the Add New Record button or the Close Window button on the toolbar.
If you have made a mistake and want to cancel the entire entry, click on the X on your toolbar. However, this will not cancel any interest that has been accrued on the deposit.
This will return you to the first screen.
You should now print the batch. You have the option of printing:
Can be given to the tenant showing the interest calculation and the distribution of the security deposit. This report will show how the accumulated interest has been calculated plus show the details of any application to an outstanding receivable balance. This receipt is designed to accompany your refund check to the tenant. Reminder: You must print the Refund report before you post the batch.
A listing of your entire batch of refunds.
Post the batch to update the Tenants’ accounts and the G/L
This procedure has set the tenants up as vendors with invoices to be paid by check. Therefore, you must now follow this procedure:
Supplier – Invoices – Post Invoice Expenses to G/L for buildings using accrual accounting
Banking – Checks – Select Invoices to Pay to select tenants to pay
Banking – Checks – Check Printing to print checks to tenants.
Session Type: Automatic Interest Payment
Use this feature if you pay out the interest on the security deposits to your tenants each year. Use this automatic interest payment when you want to do interest only refunds to tenants by building. This is a requirement in certain provinces and may apply to you.
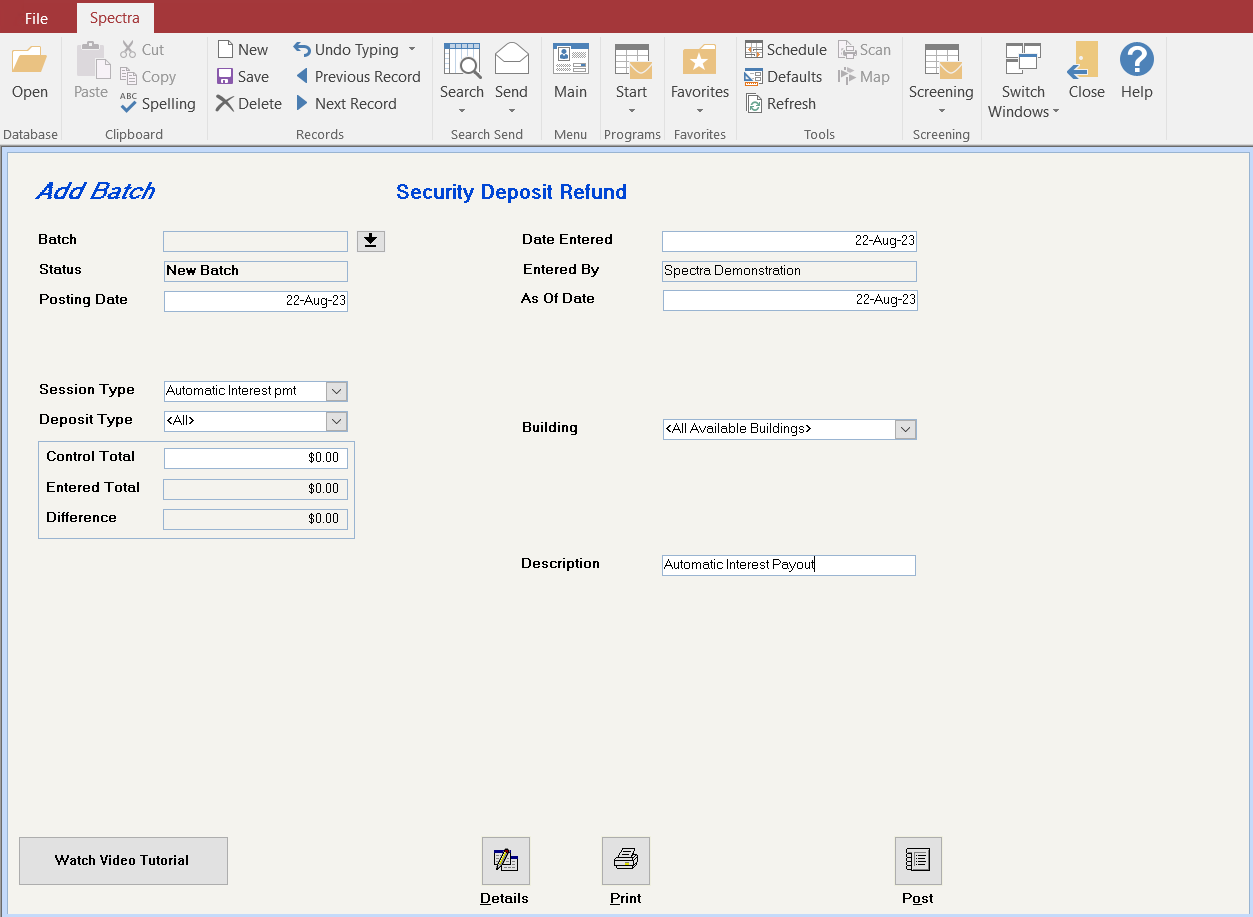
The posting date determines when it would will post to the general ledger.
If you want your interest calculation up to a certain date, e.g. the end of the year, enter that date here.
Enter the security deposit on which you will be paying out the interest.
You may select All buildings or an individual building.
If you are refunding all deposit interest, you have the option to print a default description to print on the check stubs to the tenants. The system assigns a random number as a suffix to the invoice number to keep the invoice numbers unique.
Click on the Enter Detail button to process all the tenants that have interest payments owing to them. You can do a visual check that all these payments should be made.
When you click on the Details button, this prompt will appear which will enable you to escape from this step prior to any interest being accumulated on any tenants. Click Yes to continue or click No to change the date and then proceed.
If you click on the Details button and get the message "No records to generate for this selection," check the deposit type control code. The security deposit interest must be set to be payable annually for the system to generate an automatic interest payment refund.
Add Tenant Refund Screen:
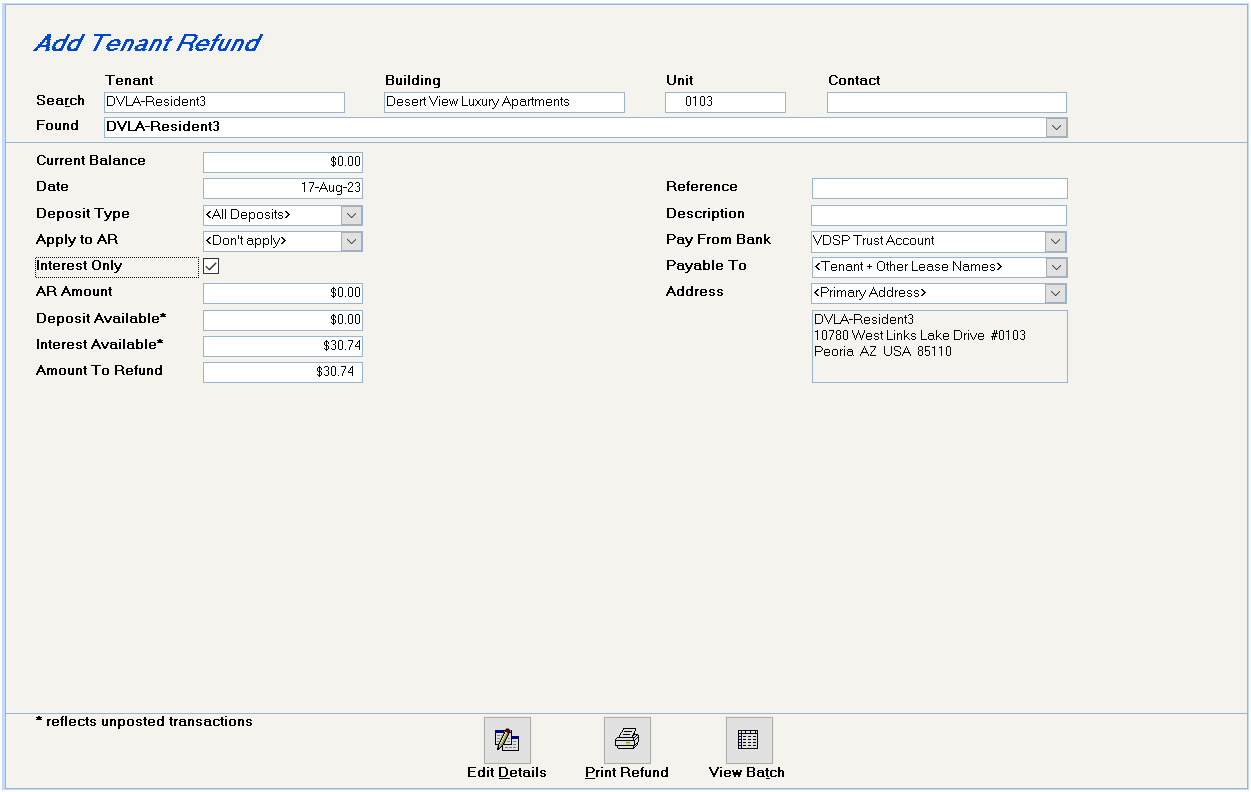
To edit the details of any tenant refunds, click on the drill down button to the left of the tenant name in the screen above. E.g. You may wish to apply the interest to the Tenant Receivable.
When you have completed this tenant’s change, click on the Save button on the top toolbar to save the change. Then, click on the View Batch button at the bottom of the screen to access other tenants or click on the Close Window button on the top toolbar to return to the Batch screen.
This button has limited use in the Automatic Interest refund program, as you must drill down on the button to the left of a tenant’s name to make any changes to the refund calculated. You may use the Edit Details button when you have a tenant open to display details about the original deposit, interest accrued, etc. However, do not make changes here you can Apply to AR here.
You can print a Refund Report to the tenant from this button, or from the Print Batch button on the first screen. This report will show how the accumulated interest has been calculated plus show the details of any application to an outstanding receivable balance. This receipt is designed to accompany your refund check to the tenant.
This button will show you a summary listing of all the entries in this batch.
Save the record and then click on the Add New Record button or the Close Window button on the toolbar.
If you have made a mistake and want to cancel the entire entry, click on the X on your toolbar. However, this will not cancel any interest that has been accrued on the deposit.
This will return you to the first screen.
Batch Screen
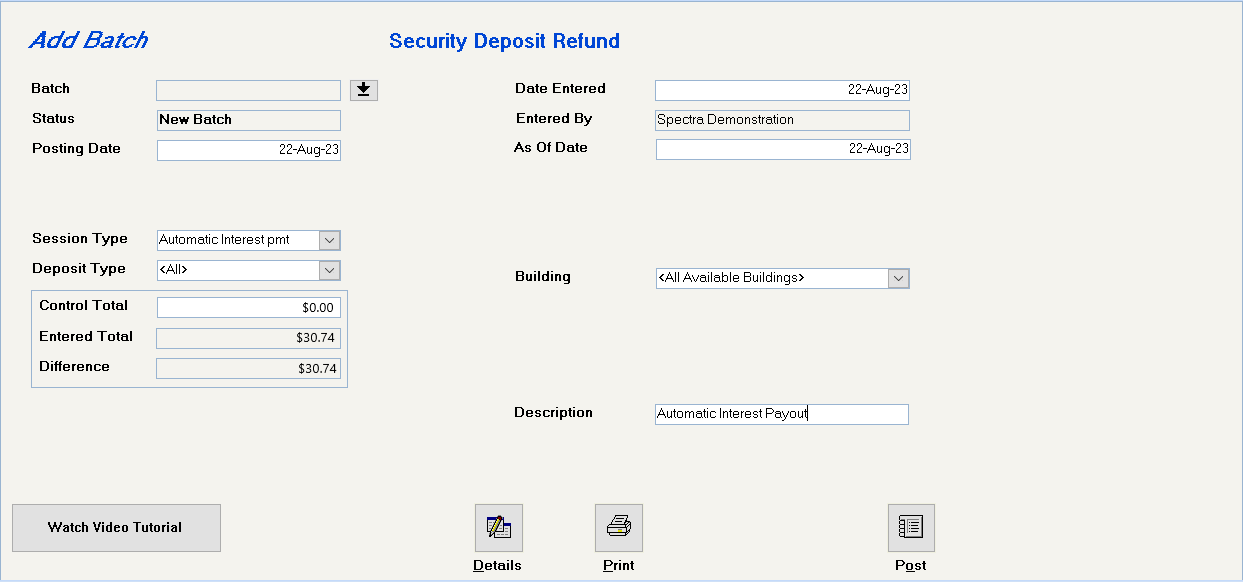
You should now print the batch. You have the option of printing:
Deposit Refund Receipt, which is a report to be given to the tenant showing the interest calculation and the distribution of the security deposit. This report will show how the accumulated interest has been calculated. This receipt is designed to accompany your refund check to the tenant. Reminder: You must print the Refund report before you post the batch.
Deposit Refund Batch Listing, which is a listing of your entire batch of refunds.
Reminder: You must print both the Refund report and Receipts before you post the batch.
Post the batch to update the Tenants’ security deposit and the G/L.
This procedure has set the tenants up as vendors with invoices to be paid by check. Therefore, you must now follow this procedure:
Supplier – Invoices – Post Invoice Expenses to G/L for buildings using accrual accounting
Banking – Checks – Select Invoices to Pay to select tenants to pay
Banking – Checks – Check Printing to print checks to tenants.