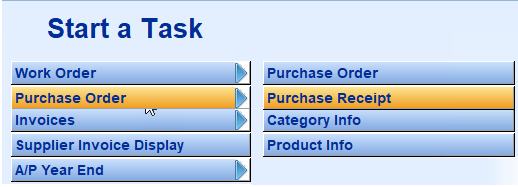
Purchase Order
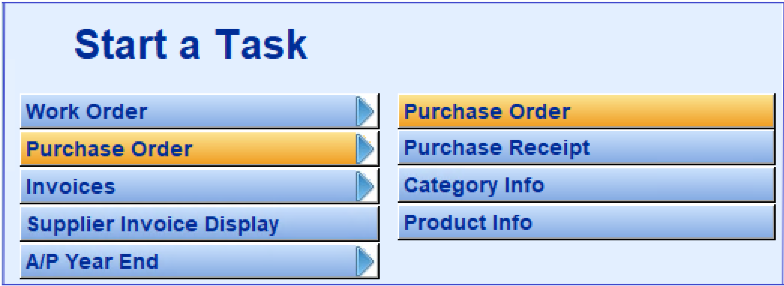
All incoming materials or inventory is handled by purchase orders. You must enter a purchase order, so that you can then "receive" the items ordered on the purchase order.
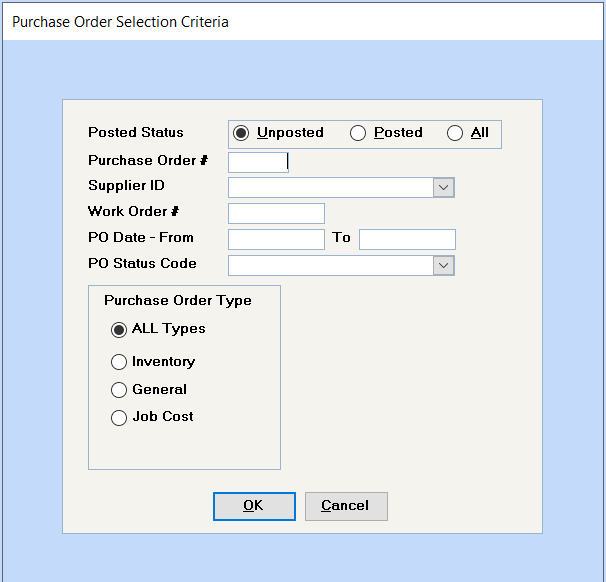
When you first access this menu item, you will see the Purchase Order Selection Criteria screen. The default is to show you Unposted Purchase Orders. If you want to see a specific Purchase Order #, changed to All, and enter the Purchase Order #, Supplier ID, Work Order #, PO Date range, or PO Status Code and then click on OK to access that group of Purchase Orders.
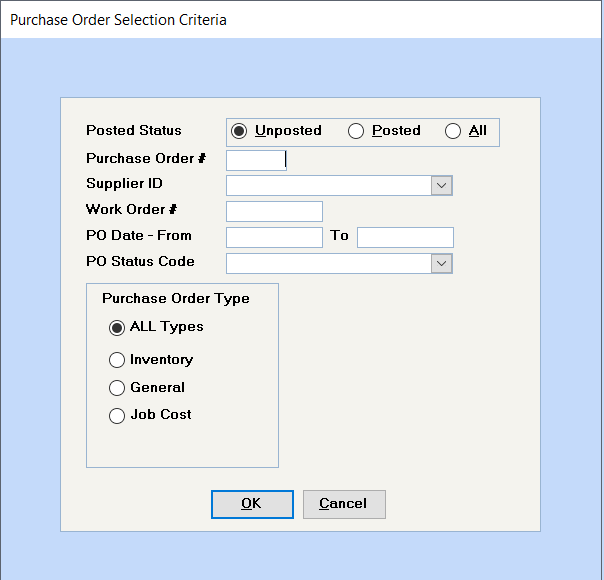
If you have not added any purchase orders, click on the Posted Status of "ALL", and then click on the Add New Database Record button on the Toolbar to add a new purchase order.
If you accept the default of Unposted and click on OK or hit
If you have added purchase orders, you will automatically be at the first purchase order. Use the Right arrow on the toolbar to scroll through all the purchase orders you have set up. Click on the Add New Database Record button to add a new purchase order.
Add Purchase Order
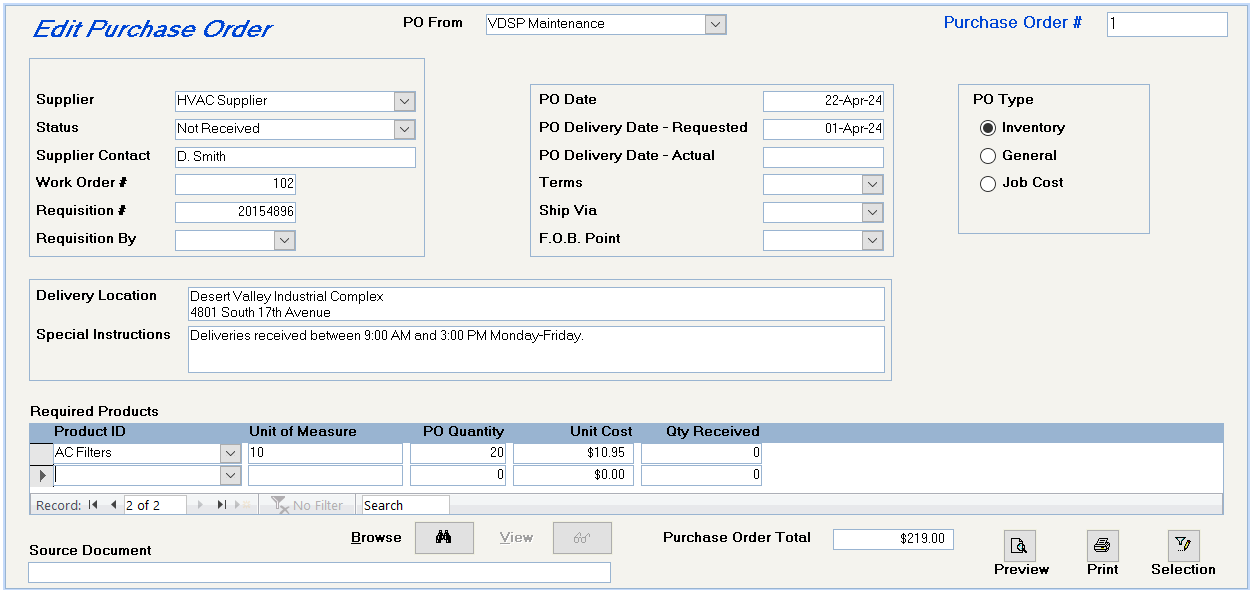
If you have the Work Order module, the name will default to the name in the Maintenance Configuration File. Otherwise, to add a new name, type in the name and, when prompted to add to list, say Yes. Once the names exist, if the name you want printed on the P.O. is different, it can be selected here.
The system automatically assigns a purchase order number.
If you are continuing the purchase orders from another system and want to start with a purchase order number other than #1, set the starting purchase order number with assistance from Spectra Support. You will be directed to the System Tasks – Spectra Utilities – Reset Order Numbers. This password-protected feature will enable you to set the starting numbers for Work Orders and Purchase Orders.
Select the supplier from the dropdown box. The Supplier name will be repeated for as many contact names as are shown on the supplier. Select the supplier name with the Supplier contact name that you want, if the contact name is available.
Enter the current status of the purchase order.
Optional field. This field is automatically filled in when you select the Supplier name, or you can override it and key in a contact name directly.
If these materials are being ordered for a specific work order, enter the work order #.
If requisitions are submitted to initiate purchase orders, enter the requisition number here.
Select a name from the drop down box, or type a new name into the field provided and add it to the list when prompted.
Select a name from the drop down box, or type a new name into the field provided and add it to the list when prompted.
Optional field
You shouldn’t enter this date until you have taken receipt of the inventory and you are updating the Purchase Receipt.
Enter the Supplier’s payment terms. Double click in this field to enter a new option.
Enter the method of shipment. Double click in this field to enter a new option.
Point Enter the location from which you pay the shipping costs. If delivery is "free", then you may select the F.O.B. Point as the Warehouse. Double click in this field to enter a new option.
If you have the Work Order module, your only option is Inventory.
If you have the Job Cost module, you may select General or Job Cost.
If you have the Purchase Order module, your only option is General.
If you have any combination of the above, those options will be available.
If you enter a "General" work order and select a G/L account that is associated with a Maintenance Code, the system will display the same pop-up screen that you would see in Supplier Invoices. This sets up the Maintenance code, but nothing will post until the purchase order is "received".

If, by some chance, you have selected the wrong Maintenance Code, return to this Purchase Order screen, and double click on the Maintenance folder.
Enter these fields, which will print on the purchase order.
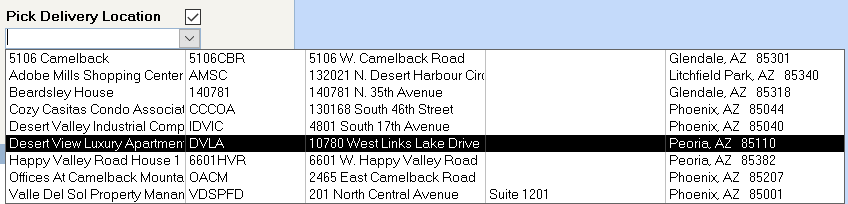
If you select this option, you may select a building address from the Pick Delivery Location dropdown box. This will give you a listing of your buildings from which to choose, which will then print in the delivery location box. This can be overwritten if you change your mind.
Select the product from the products already set up. If the product does not exist, you must close this purchase order, add the product in the Product Info screen, and return to the purchase order to complete it. All products will display, because you are not limited to the supplier of choice entered on the Product Info screen.
(The following fields relate to Inventory Purchase Orders:)
This will pick up the Quantity per Unit field on the Product Info screen, i.e. dozen, case, gross, etc. If the Product Info screen indicates that you order by the dozen and the Conversion Factor is 12 because you sell the product individually, then the quantity you order and the unit cost must be per dozen.
i.e. If you are purchasing an item for which you have set the product up with a Quantity per Unit of 12 or dozen and a Conversion Factor of 12, be careful what you enter as the PO Quantity. If you enter 36 of this item, the system will assume 36 dozen or 432 items, so if you want to order 36 individual items, enter 3, so the system will order 3 dozen.
Please refer to the discussion under Unit of Measure. Enter the number of units to be ordered. The system will multiply this number by the Conversion Factor to arrive at the number of Selling Units, when the items are received.
Enter the unit price, i.e. the price per case, dozen, or gross, if that is the unit that you are ordering from the supplier. Once you have received this product into the system, the system will default to the last unit cost entered on the system, which you can override with the current cost.
This field will be filled in when you complete the Purchase Receipt program.
When you have entered all the purchase order information, click on the Print Preview or Printer buttons to view and print or send the purchase order directly to the printer.
The Selection button will call up the Purchase Order Selection Criteria box to enable you to select another purchase order.
Purchase Order Reciept
When you first access this menu item, you will see the Purchase Order Selection Criteria screen, which defaults to Unposted Purchase Orders. You may change the status to All, and enter a specific Purchase Order #, Supplier ID, Work Order #, PO Date range, or PO Status Code and then click on OK to access that group of Purchase Orders.
If you accept the default of Unposted and click on OK or hit
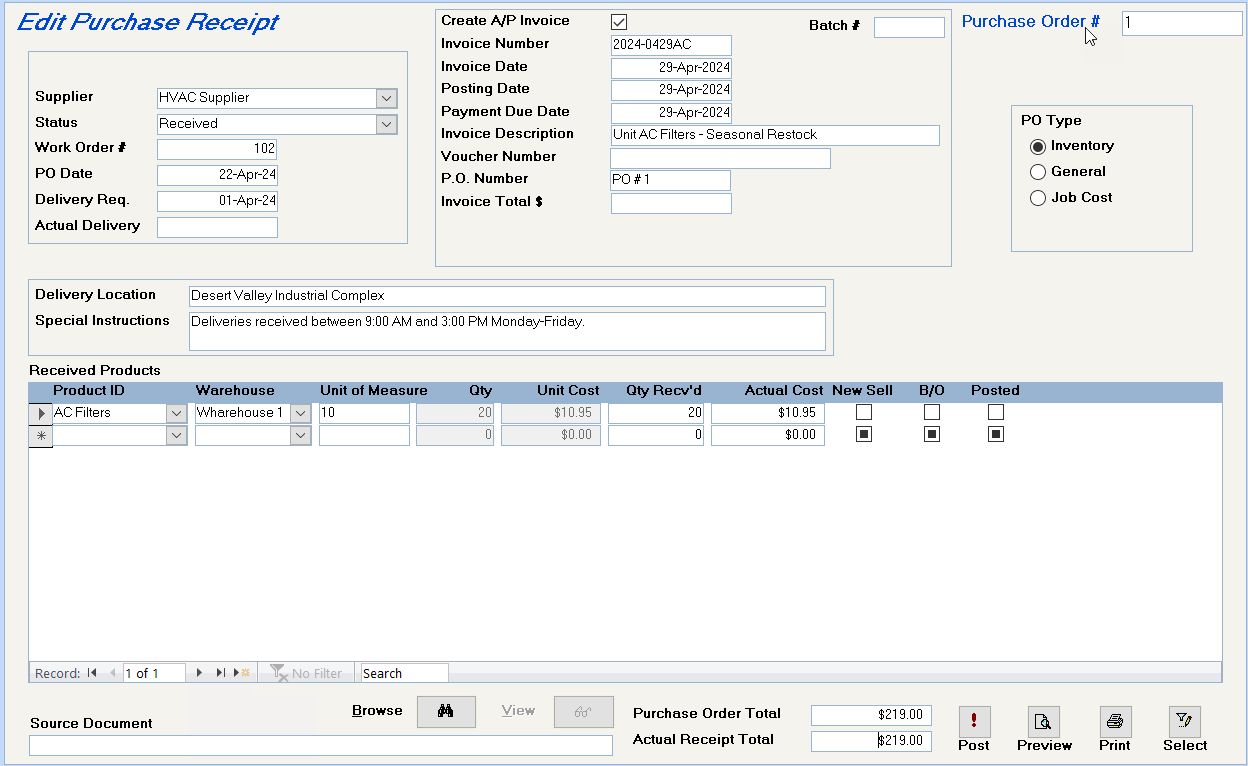
Change the status to Received or another code, if it has only been partly received.
Enter the actual date the inventory is received
Enter the Supplier’s invoice details and the total amount of the invoice, including all shipping and taxes. Be sure to select the option "Create A/P Invoice", if you want the system to set the supplier’s invoice up in the Accounts Payable.
This feature is only available once for each purchase order. If items are back ordered and subsequently received, you will not be able to use the Create A/P Invoice feature for the second invoice. Enter subsequent invoices for this purchase order under Supplier – Invoices – Supplier Invoice Batch Entry.

Select the warehouse where this inventory is stored.
Enter the number of units received and the actual cost. When you click on the Post Purchase Receipt button, the system will add the number received to the current inventory and back order the non-shipped amount.
If you don’t want the balance back ordered, untick this box before you click on the Post Purchase Receipt button.
If the purchase order wasn’t completely received, the system will automatically set up a back order. If you don’t want the balance back ordered, untick this box before you click on the Post Purchase Receipt button.
As the purchase receipt is linked to the original invoice received, when subsequent items on this purchase order are received, you will not be able to use the Create A/P Invoice feature for subsequent invoices for this purchase order. These invoices are to be entered under Supplier – Invoices – Supplier Invoice Batch Entry.
Click on this button to update the inventory and create back orders.
Click on this button to update the inventory and create back orders.
The Posted button will display when the purchase order receipt has been totally posted, and all items on the purchase order have been taken into inventory.
If only part of the purchase order has been received, the Posted button will not display, although the system will post the partial receipt if you click on the Post button.
Edit Purchase Receipt (PO Type: General)
If a General Purchase Order is partially received, the backordered items will be transferred to a separate purchase order. This will allow you to create a Supplier AP Invoice for each part order.
Purchase Order 3 now gives you the same options as the original purchase order, namely to create A/P Invoices or to create a new purchase order for backordered items.

When these items are received, receive them on the purchase order receipt screen and enter the supplier’s invoice in the Supplier Invoices Batch Entry