Add or Change Standard Invoices
Standard Invoices are recurring invoices or monthly automatic withdrawals from your bank account, such as mortgage payments, insurance premiums, lease payments, property tax installments, etc. Using Standard Invoices enables you to set them up once and then just process them each month.
Each invoice entered on the system requires a supplier, as Sundry vendors or suppliers are not used. Therefore, your suppliers must already exist on your system before you begin entering invoices.
Enter the first few letters of your supplier name and then use your Up and Down arrow keys or your mouse to select the supplier from the list.
If you are adding an invoice, enter a description of this invoice to be printed wherever invoice descriptions are printed on reports. If you are editing an invoice, skip this field and select the Invoice Number after selecting the Supplier.
Enter the contract reference or invoice number. If this contract is to be split among several buildings, you may wish to enter the invoice number as ###-1, ###-2, etc., to differentiate the invoice numbers, as a separate standard invoice must be entered for each building.
If you have removed the Check for Duplicate Invoices flag from the Supplier’s Accounting screen, the system will allow the same invoice number to be used for different buildings, but it would be helpful to incorporate a suffix, e.g. the Bldg ID to identify each invoice.
If you have not removed the Check for Duplicate Invoices flag from the Supplier’s Accounting screen, the system will not allow the same invoice number to be used for different buildings. This would require the use of an identifying suffix or some other means so that the invoice number will remain constant and the -1, -2, etc. will reflect the number of different buildings.
Current standard invoice
Puts a "hold" on current standard invoice
The Purge A/P Standard Invoices program will only delete invoices with a status of Delete. If you ever want to delete a supplier, the system will check that any standard invoice for this supplier has a status of Delete.
Enter the monthly payment (including all taxes) due from this building or department. Negative amounts are allowed, so that you can enter a negative standard invoice to reduce a letter of credit that may be recorded on one building for expenses related to other buildings.
You may also enter a zero amount for recurring invoices where the amounts change every month, such as utility bills. For such invoices, select the Variable Amount (Control Posting) option.
Invoices, such as Utility bills, can be set up for a zero amount, posted (to the Suppliers), and then the amount edited prior to posting to the GL or payment. (See Edit Open Unposted Invoices.)
We recommend using a zero amount for variable control posting invoices, as these unpostable invoices will print on the Outstanding/Paid Invoice Listing and the Supplier Aging reports flagged with an asterisk (*).
The 2013 General Release made this feature available for auto withdrawal invoices. An example of this would be utility bills that are automatically deducted from your bank account(s). Here’s the process:
Add the Variable Amount (Control Posting) flag to the auto withdrawal invoice.
The screen will display a message that the variable amount flag doesn’t control the posting. What this means is that, if you run the Post Auto Withdraw Invoices, it will expense and deduct from your bank account whatever is shown on the standard invoice at that point. You must revise the amounts in the Edit Variable Auto Withdrawal Invoices program first.
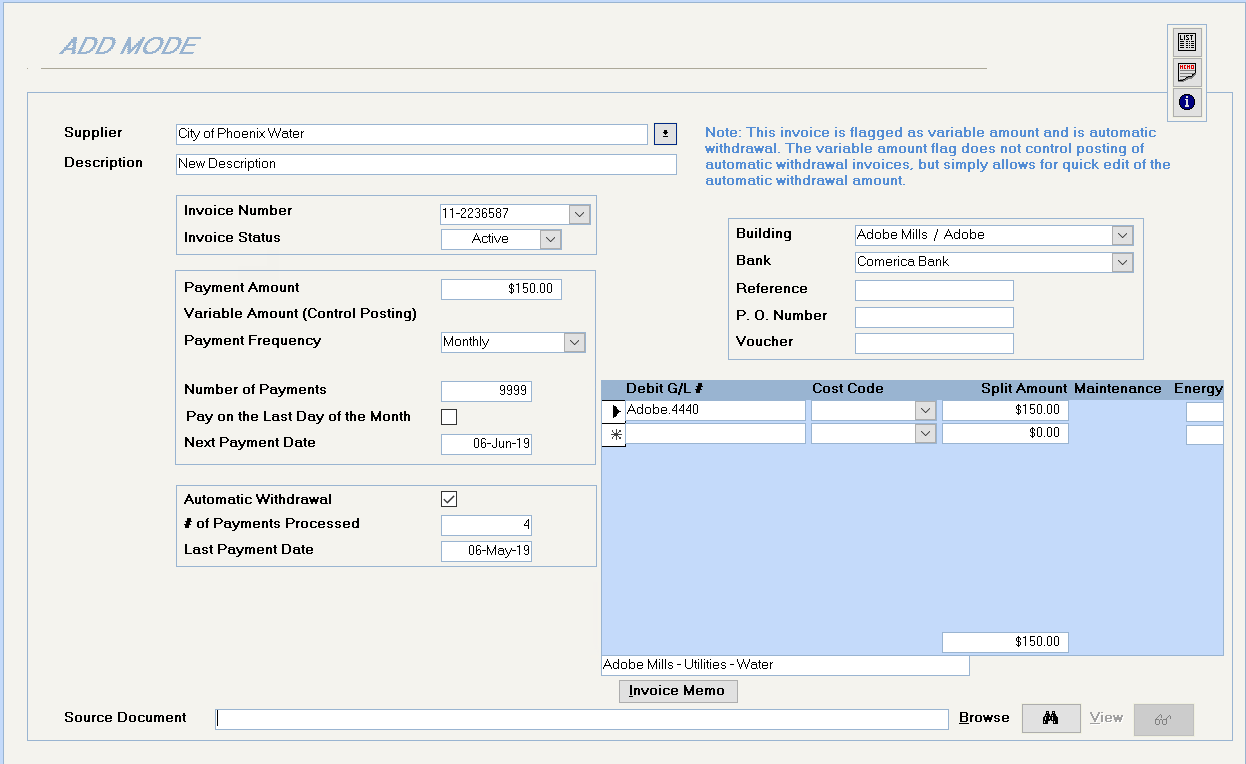
The Payment Frequency will default to Monthly, or you can select Weekly, Bi-Weekly, Semi-Monthly, Quarterly, Semi-annually, or Annually. The Supplier Standard Invoices report will print the Pay Freqencies.
Enter the total number of payments for this contract or mortgage. E.g. a 5-year contract would require a total of 60 monthly payments.
Enter the next payment date that you want the system to process in MM/DD/YY format.
Select this option if this monthly payment is automatically taken out of the bank account. This will record the entry as a credit to the Bank G/L account instead of to the Accounts Payable G/L Account and will assign a check number of -1. This number will appear on the Bank Reconciliation Report as well as the Check Register and G/L Detail reports.
Enter the number of payments that have been made, so that the system can calculate the exact number of payments remaining on this commitment.
Enter the number of payments that have been made, so that the system can calculate the exact number of payments remaining on this commitment.
Enter the date of the previous payment. Hereafter, the system will maintain this field.
Use this optional field to record any notes regarding this invoice.
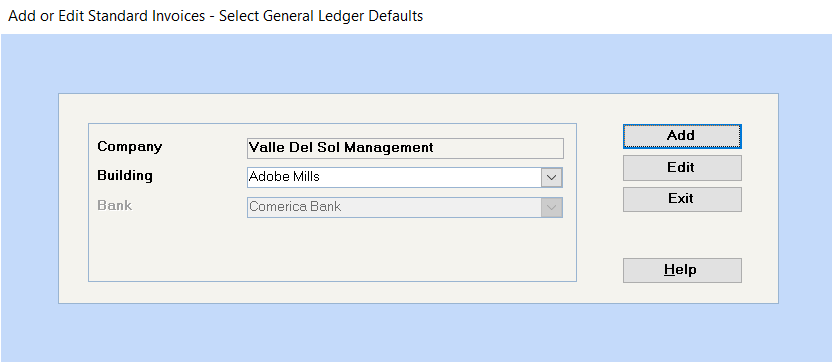
This will default to the building specified on the opening screen, but can be changed to any building.
Defaults to the bank entered on the first screen, but can be changed to another bank if the Building’s Disbursement bank is not enforced.
Anything entered in the Voucher # field (up to 30 characters) will print on the check stub.
Enter an expense for the building selected above. You may key in the Bldg ID.G/L account number or double click on this field to open the G/L selection screen.
Enter if applicable
Enter if applicable
You may add a source document, such as a scanned image of a contract or invoice, when entering Supplier invoices. To link a copy of an invoice, scan the invoice and save it on your network. Then, use this feature to enable others to view the invoice.

If you have a scanner and have set up the Scan Documents Folder on the Configuration File, any screen that has the source document link will also have a Scanner button on the toolbar. Please refer to the Configuration File help file for complete instructions.
Click on the Add New Database Record button on the toolbar and repeat the above procedure.
Shows the details of all standard invoices set up
Allows you to record a memo for this particular supplier
Displays the supplier information recorded on the database.
Click on the Close button to exit the program.
For a list of all standard invoices, go to Supplier – Select a Report – Supplier Standard Invoices.
 Watch Video Tutorial